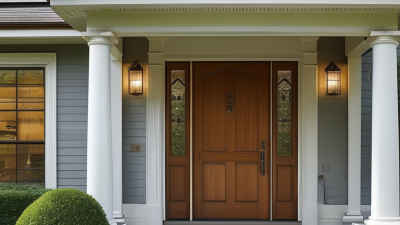
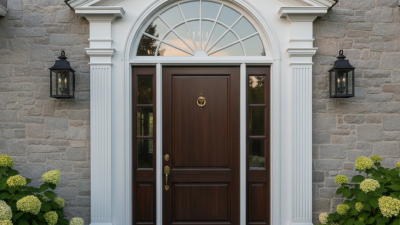
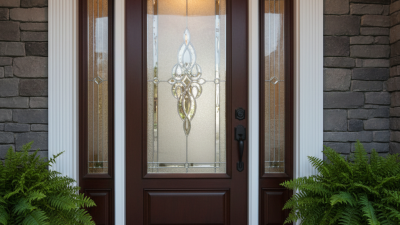
Choosing exterior door moulding can change more than a doorway’s appearance. It influences weather protection, visual balance, and the entrance’s long-term maintenance. A narrow profile may look clean on a modern home. A wider, layered design can suit a traditional façade.
This guide presents seven practical tips for selecting the right moulding. The recommendations consider material performance, water management, installation accuracy, and architectural proportion. They also reflect common observations from renovation projects and established manufacturer guidance. Exterior trim should not be chosen by appearance alone. Rain, sunlight, temperature changes, and daily impact all leave evidence over time.
Start with the doorway itself. Measure the jamb, wall surface, reveal, and available clearance around hinges. Small errors become obvious when the casing meets uneven siding or brick. Material selection matters, too. Primed wood offers a classic finish but requires careful sealing. PVC and composite options resist moisture, although their joints may need different installation methods. Fiber cement can perform well, but cutting and fastening require appropriate tools.
The seven tips will help compare profiles, materials, sizes, finishes, and installation details. They will also explain why flashing and sealant deserve attention. These parts are easy to overlook. That is a mistake.
A beautiful trim package can still fail if water reaches the wall assembly. Likewise, a durable product may appear awkward when its scale ignores the home’s proportions. Checking samples in daylight is worthwhile. Store lighting can be misleading. Careful decisions usually produce a doorway that looks intentional and performs reliably through changing seasons.
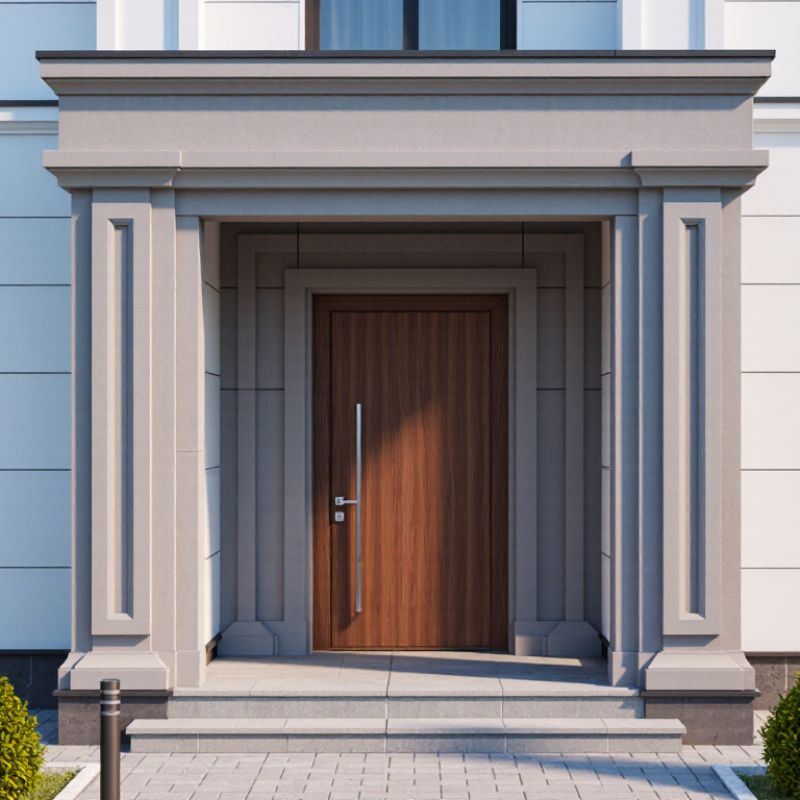
Exterior door moulding does more than frame an entrance. It covers the joint between the door jamb and wall, shields vulnerable edges, and creates a controlled path for rainwater. It also influences how large, deep, or welcoming the doorway appears.
The U.S. Department of Energy notes that air leakage can represent 5% to 30% of a home’s heating and cooling costs. Moulding cannot stop leakage alone, but poor installation can expose gaps around the frame.
Choose a profile that matches the wall depth, then check its material, moisture resistance, and maintenance needs. Wood offers warmth but demands careful sealing. PVC or composite options resist rot, though they can expand and contract. Keep the lower trim clear of standing water. Use corrosion-resistant fasteners and leave space for proper flashing. The joint should be sealed, but not hidden beneath excessive caulk. Measure twice. A small error shows quickly.
U.S. federal building guidance consistently treats flashing, drainage, and continuous air sealing as connected details. That matters more than decorative width. In field inspections, damaged bottom corners often reveal water-management mistakes, not weak moulding. I would also avoid choosing trim only from a showroom sample. Strong sunlight, textured siding, and a dark finish can change its appearance within months. A perfect-looking profile may still perform poorly when its edges, fasteners, and transitions are ignored.
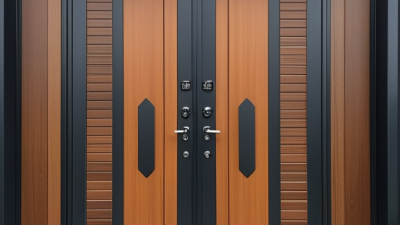
7 Tips for Choosing Exterior Door Moulding
Evaluate Door Style, Architecture, and Proportions
Begin by studying the door itself. A plain slab door usually needs restrained moulding, while a paneled door can support deeper profiles. Match the trim language to the home’s architecture. Clean, square edges suit modern façades; layered profiles often complement traditional homes. Respect the roofline and nearby windows.
Measure the opening before choosing a profile. Wide casing can make a small entry appear crowded, while narrow trim may disappear beside a tall door. Keep the head casing visually stronger than the side casing when the façade needs more height. Still, proportions are not mathematical rules. I once selected a perfectly scaled profile that looked too delicate beside rough stone.
Compare the moulding with the door’s color, wall texture, and hardware. A sharp white profile may look harsh against warm brick. Use a sample outdoors, not only under showroom lighting. Check its shadow lines in morning and afternoon sun. Choose moisture-resistant materials suited to local weather, and confirm installation details with a qualified professional. Test the corner joints. They reveal poor planning quickly. Reconsider anything that competes with the doorway. The entrance should feel intentional, not decorated.
| Tip | What to Evaluate | Practical Guidance | Proportion Check | Suitable Moulding Direction |
|---|---|---|---|---|
| 1. Match the Door Style | Panel, flush, glazed, arched, or double door | Use clean, restrained profiles around modern flush doors; use layered or decorative profiles around traditional panel doors. | The moulding should frame the door without competing with its panels, glass, or hardware. | Flat or square-edged trim for modern doors; stepped, profiled, or beaded trim for traditional doors. |
| 2. Respect the Architectural Style | The façade’s period, materials, roofline, and existing exterior details | Repeat shapes and visual language already present in the home, such as simple lines for contemporary façades or classical details for period-inspired façades. | A new door surround should look intentional beside nearby windows, columns, cornices, and siding. | Choose a profile that complements, rather than exactly imitates, the strongest architectural detail. |
| 3. Measure the Door Opening | Door slab size, jamb depth, reveal, and available wall space | Measure width, height, and depth at several points because older openings may not be perfectly square or plumb. | Keep the visible trim width consistent on both sides and across the head wherever the structure allows. | Use wider trim when the façade is large or the entrance is visually important; use narrower trim where wall space is limited. |
| 4. Balance Width and Height | The relationship between side casing, head casing, and door height | A taller entrance can support a stronger head detail, while a compact entry generally looks better with a lighter surround. | Side mouldings should visually support the head rather than make the top appear disconnected or undersized. | Use a simple head for narrow single doors and consider a transom-compatible surround for tall or formal entrances. |
| 5. Coordinate with Windows and Trim | Existing window casing, corner boards, fascia, and base trim | Coordinate the profile family and finish so the door does not look like an isolated feature. | A door surround may be more prominent than window trim, but it should share at least one visual characteristic, such as edge shape or finish. | Use a matching profile for a unified façade or a slightly larger version to establish the entrance as a focal point. |
| 6. Select Exterior-Appropriate Material | Moisture, sunlight, temperature changes, impact, and maintenance requirements | Choose a material rated for exterior use and follow the manufacturer’s requirements for sealing, fastening, joints, and paint or coating. | Consistent joints and sealed end cuts are essential to preserve the appearance and service life of the surround. | Paint-grade exterior trim offers flexible color coordination; durable composite or molded profiles can reduce routine upkeep. |
| 7. Test the Color and Shadow Lines | Paint color, surface texture, sunlight, and the shadows created by the profile | Review a physical sample outdoors because natural light changes how color, depth, and contrast are perceived. | Dark or highly detailed moulding can visually shrink the opening, while light or shallow trim generally creates a softer frame. | Use contrasting trim to emphasize the entrance or a closely matched tone for a quieter, integrated appearance. |
Note: Final moulding dimensions should be confirmed against the actual opening, local weather exposure, installation details, and applicable building requirements.
Exterior door moulding faces rain, sunlight, wind, and sudden temperature changes. It must survive all of them. Choose material for the climate, not only the style. Solid PVC or composite moulding resists moisture and will not absorb water like untreated wood. Engineered wood can perform well when its edges are sealed carefully. Traditional wood remains attractive, but it needs more attention around joints and lower corners.
From renovation work, I have seen tiny finish gaps become swollen edges after one wet season. That detail is easy to miss. Inspect samples in daylight. Check whether the surface feels dense, stable, and evenly finished. Ask how the material handles heat, frost, and repeated expansion before buying. A cheaper option may look practical, yet replacement costs can rise quickly.
Installation affects durability as much as material choice. Fasteners and adhesive must suit the moulding and wall surface. Seal cut ends, especially near the threshold, where splashing water collects. Keep water moving away. Leave suitable expansion space instead of forcing tight joints. I once trusted a neat-looking joint without checking drainage, and it failed earlier than expected. That mistake changed how I inspect exterior trim. Reliable results come from moisture control, careful preparation, and regular checks for cracks or soft spots.
Exterior door moulding does more than frame an entrance. It controls proportion, shadow, and the façade’s first impression. During renovation work, I have found that a beautiful profile can look wrong when the wall, door, and trim scale disagree. Hold sample pieces against the opening in daylight. Daylight exposes them. Check the jamb depth, door thickness, and available wall space before choosing a size. A narrow casing may disappear beside a wide door, while oversized moulding can make a modest entry feel crowded.
Match the profile to the home’s architectural language. Clean, flat lines support contemporary walls, while stepped or rounded profiles add depth to traditional exteriors. The transition should feel intentional, not forced. Decorative details deserve restraint. A small bead, fluted edge, or corner block can create character, but several competing patterns may look noisy. I once selected an ornate header that seemed impressive in a showroom. Beside the actual brickwork, it felt heavy and slightly awkward.
Weather exposure also affects the decision. Use exterior-rated materials and confirm that joints, edges, and fasteners can resist moisture. Follow local installation requirements, especially around drainage and door clearances. Paint color changes how large moulding appears; dark trim often looks stronger than expected. Review the design from the sidewalk, not only from the workbench. My own measurements have been wrong before, usually by ignoring uneven walls. Recheck each side, and allow small adjustments rather than forcing a perfect-looking line.
7 Tips for Choosing Exterior Door Moulding?
Plan the installation before buying moulding. Measure the opening, reveal, corner returns, and threshold clearance. Choose a profile that sheds water, not one that traps it. Composite or rot-resistant wood can suit damp exposures, while primed wood allows easier field finishing. Keep the lower edges above splash zones when possible. Small details matter.
During installation, verify that the door frame is square and firmly supported. Leave a controlled expansion gap at joints, then seal it with a compatible exterior sealant. The U.S. Department of Energy reports that air leakage may represent 5–30% of a home’s heating and cooling energy use. Poorly sealed trim can therefore affect comfort, not just appearance. Fasten through solid material, and avoid crushing soft moulding.
Finishing should cover every exposed face, especially cut ends and the bottom edge. Apply coatings only to clean, dry surfaces within the product’s temperature range. The U.S. Environmental Protection Agency’s moisture-control guidance identifies water intrusion as a major source of building damage. Inspect the moulding each spring for cracked caulk, peeling paint, swelling, and insect activity. Clean gently; harsh pressure can force water behind the trim. Recoat before bare material appears. I have learned that “maintenance-free” is usually an overstatement. Even durable moulding needs inspection, and rushed touch-ups often hide a larger drainage problem.
Typical time allowances for planning, installation, finishing, and long-term maintenance of one standard exterior doorway.
These practical planning allowances assume accessible surfaces, standard tools, and one doorway. Measure the opening first, allow additional time for damaged substrates or complex trim profiles, apply compatible primer and exterior paint, and inspect joints and sealants at least once a year.